How can I use FME parameters to fill gaps or holes in a raster image? Please explain best methods.


 +4
+4How can I use FME parameters to fill gaps or holes in a raster image? Please explain best methods.
Best answer by dmitribagh
Hi
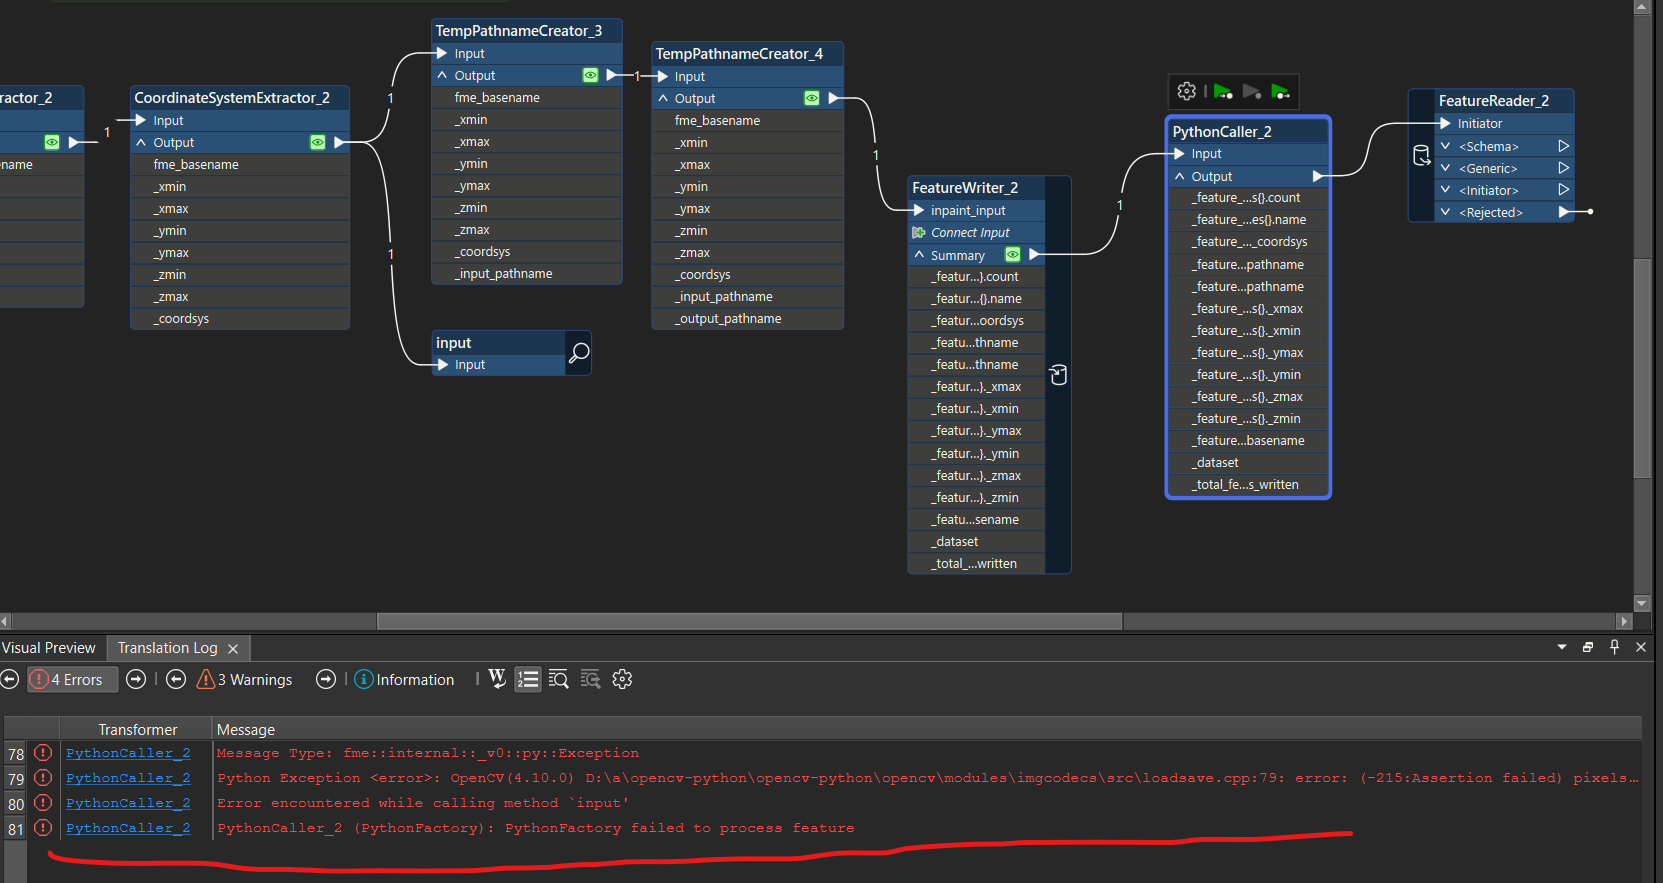
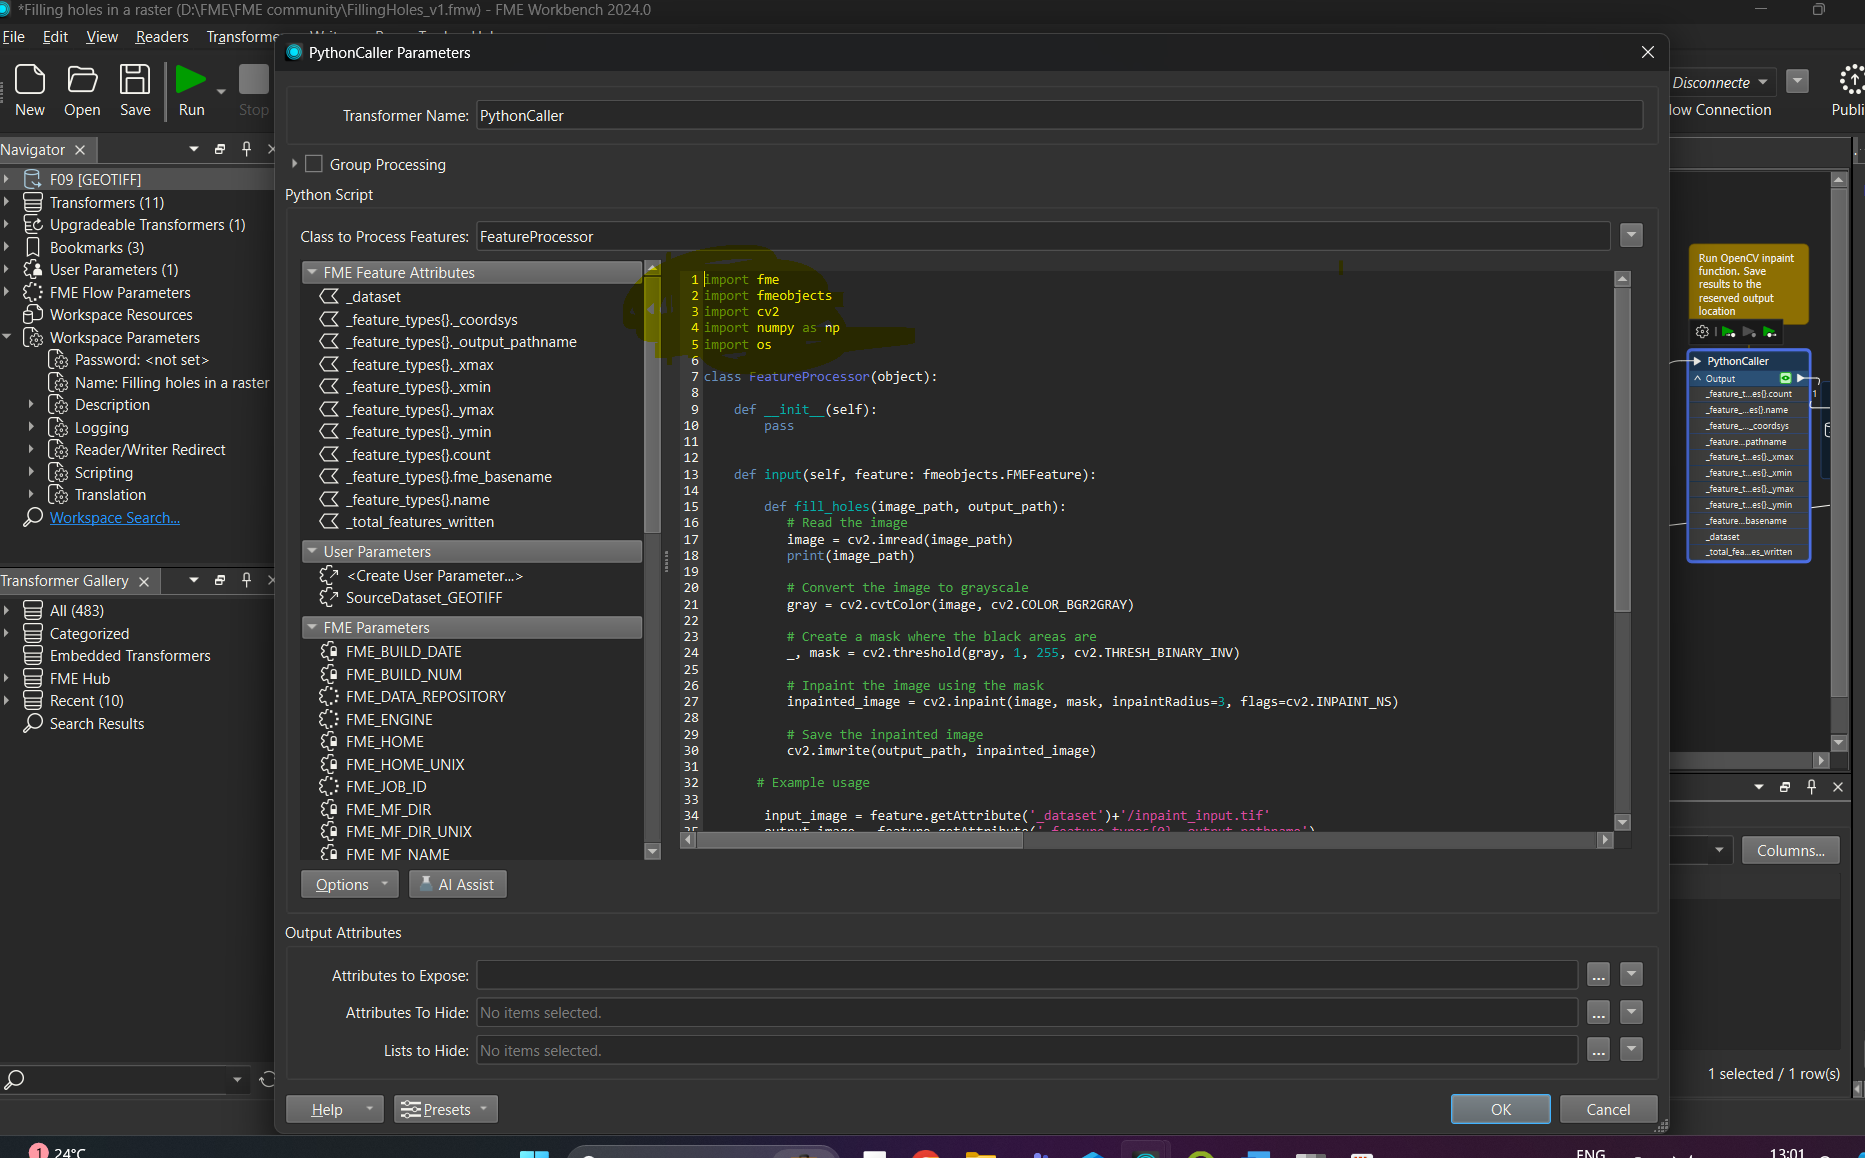
Here is the template with my experiment.
You will need to install OpenCV Python library. See the command line for this in the workspace.
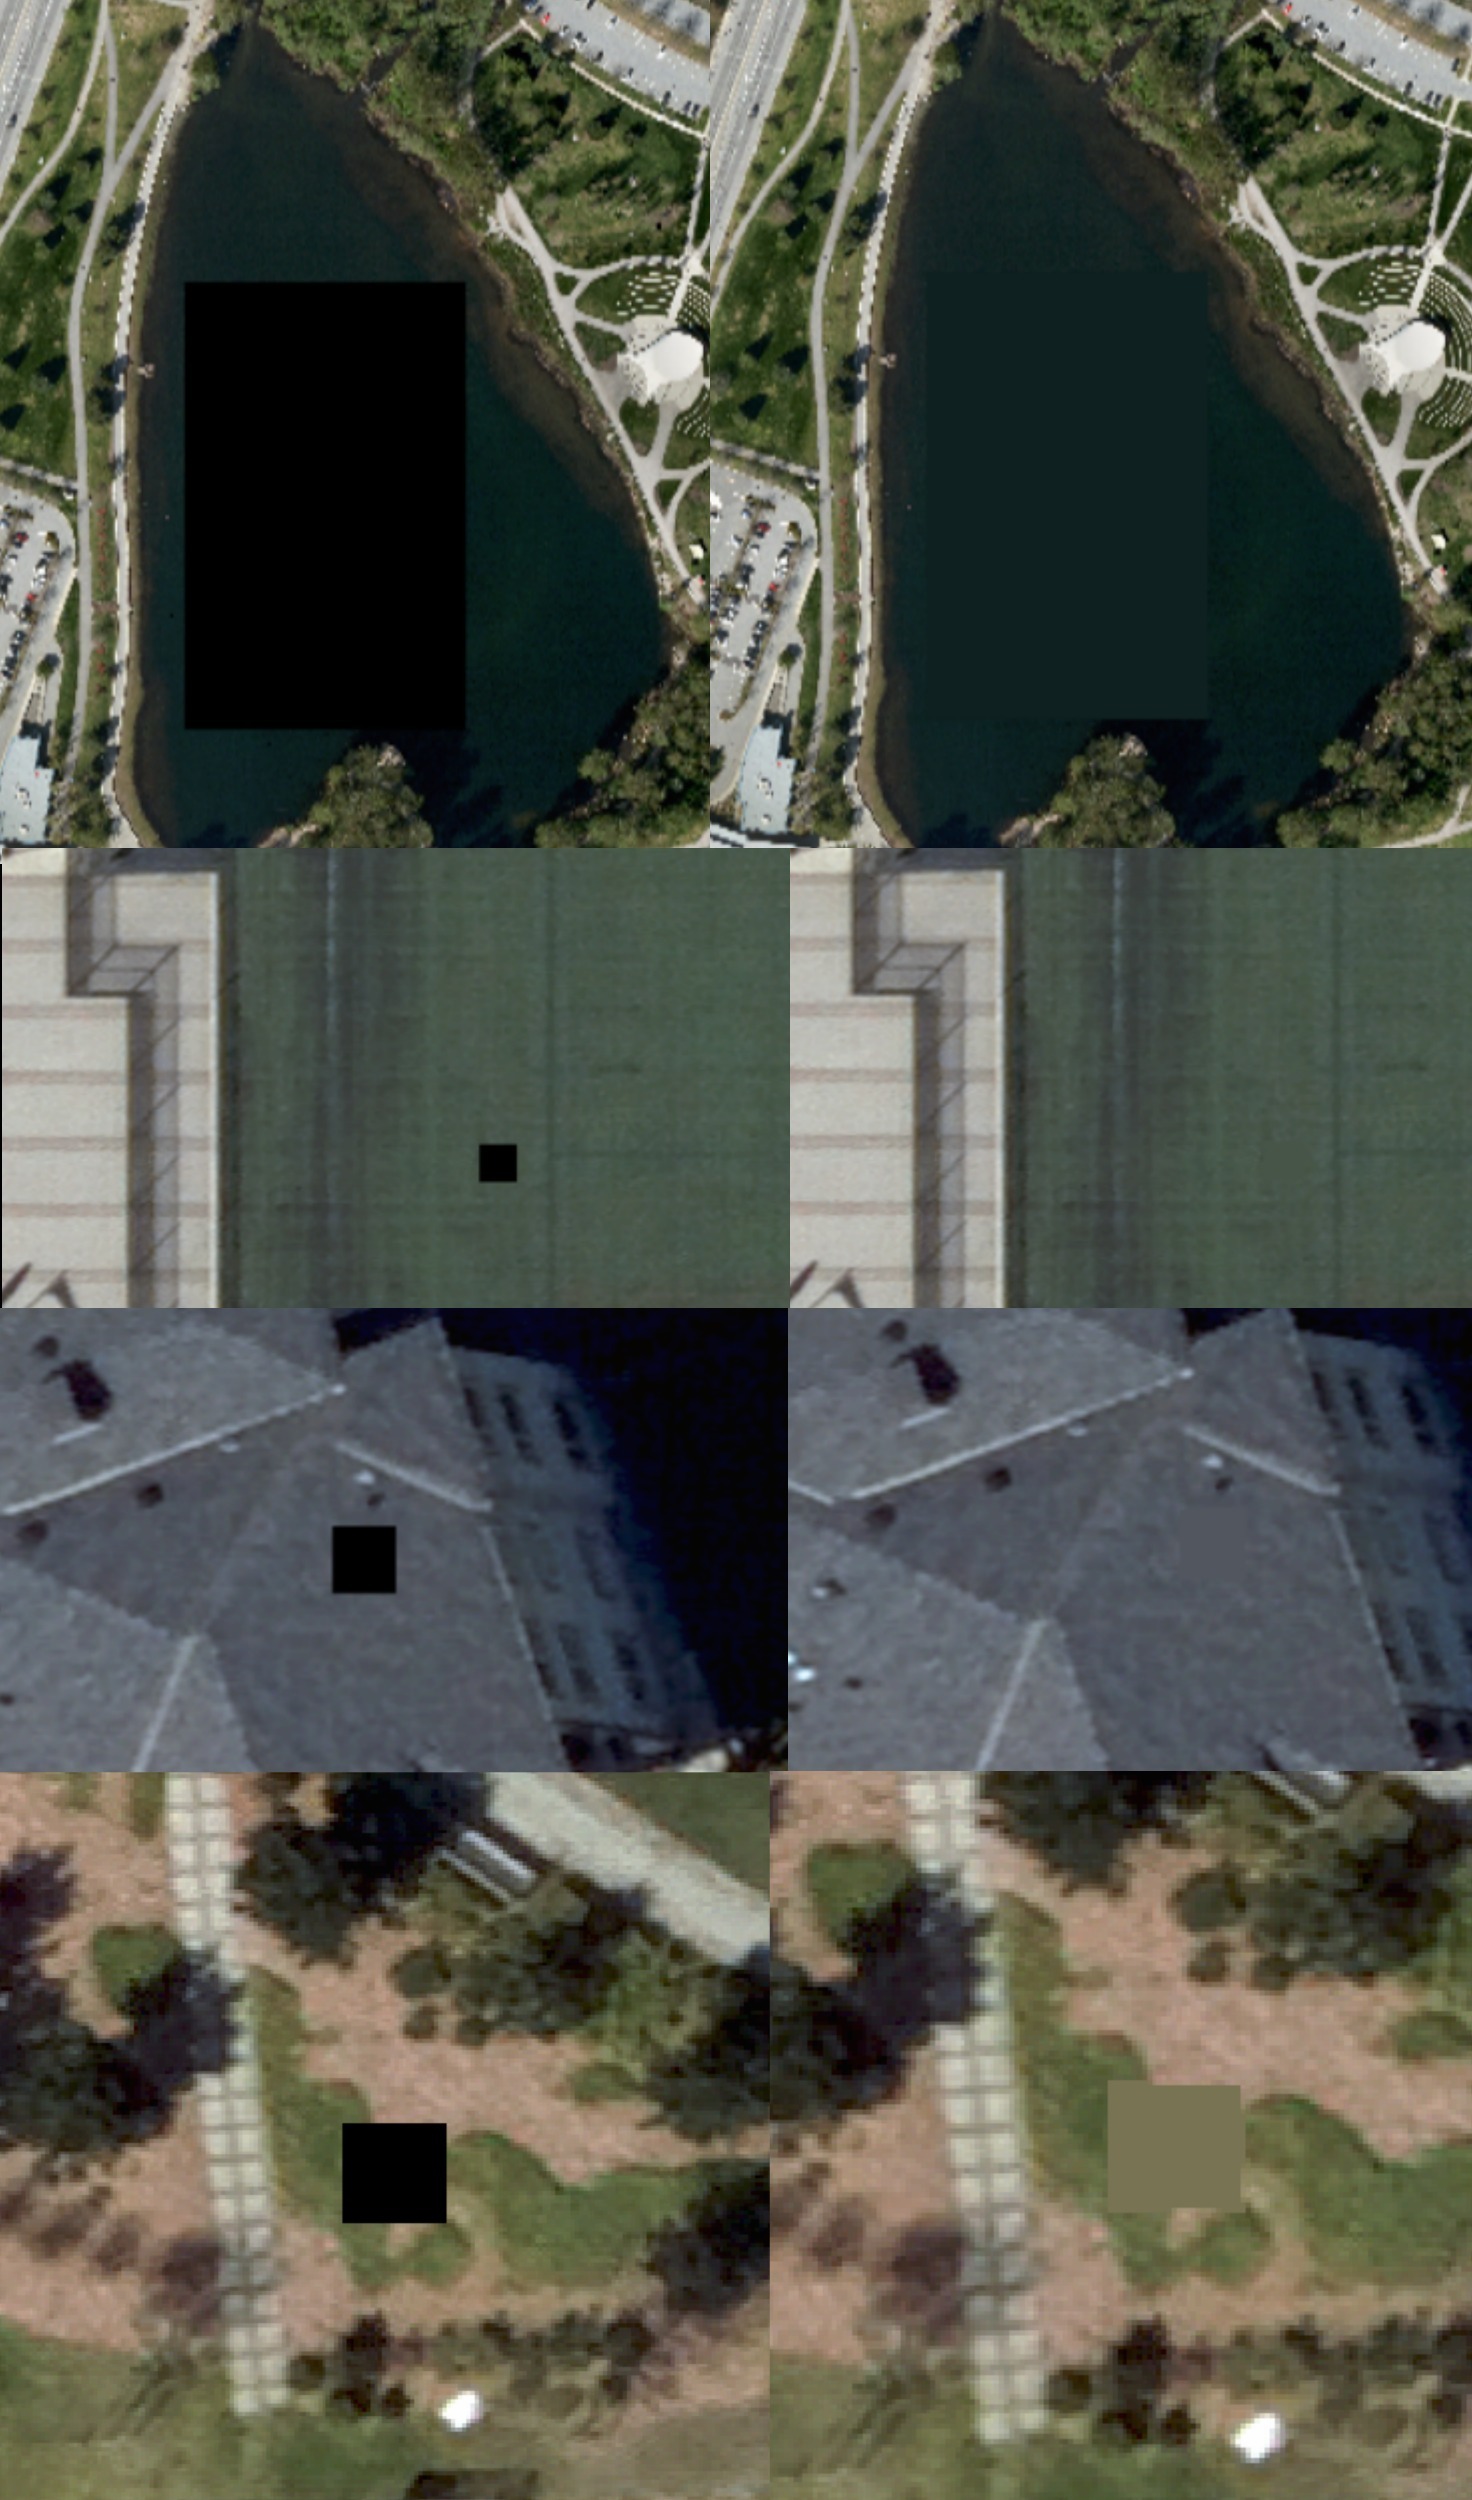
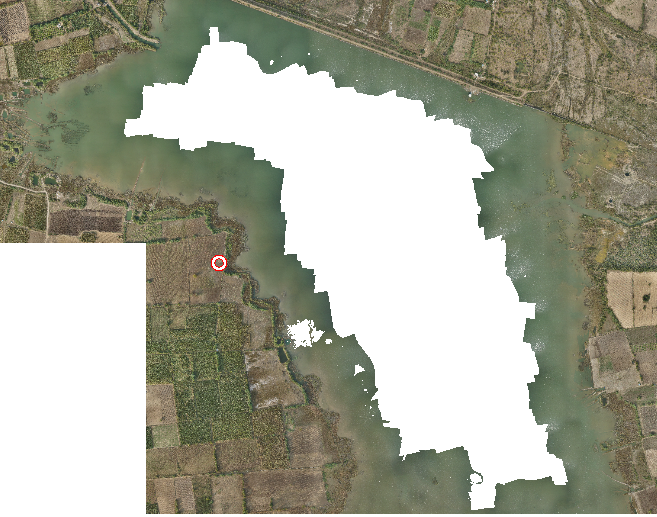
Here is the map that shows the results of the workspace run. Use 1 and 2 keys to switch between before/after images. Zoom in to any marker or use navigation buttons on top to go through all of them (might be boring 😁 - it’s so easy to generate as many holes as we want):
https://safe-scenarios.s3.us-west-2.amazonaws.com/Leaflet/HoleInpaint/inpaintReview.html
I hope this helps with smaller gaps or even bigger gaps on areas with not very many diverse details.
I will make a LinkedIn post showing this integration for other users to try this functionality.
Dmitri
No account yet? Create an account
Enter your E-mail address. We'll send you an e-mail with instructions to reset your password.


")